
Thursday, December 27, 2012
Sunday, October 14, 2012
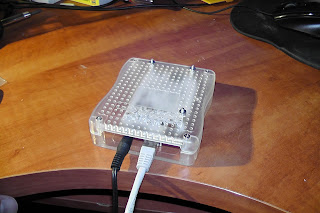
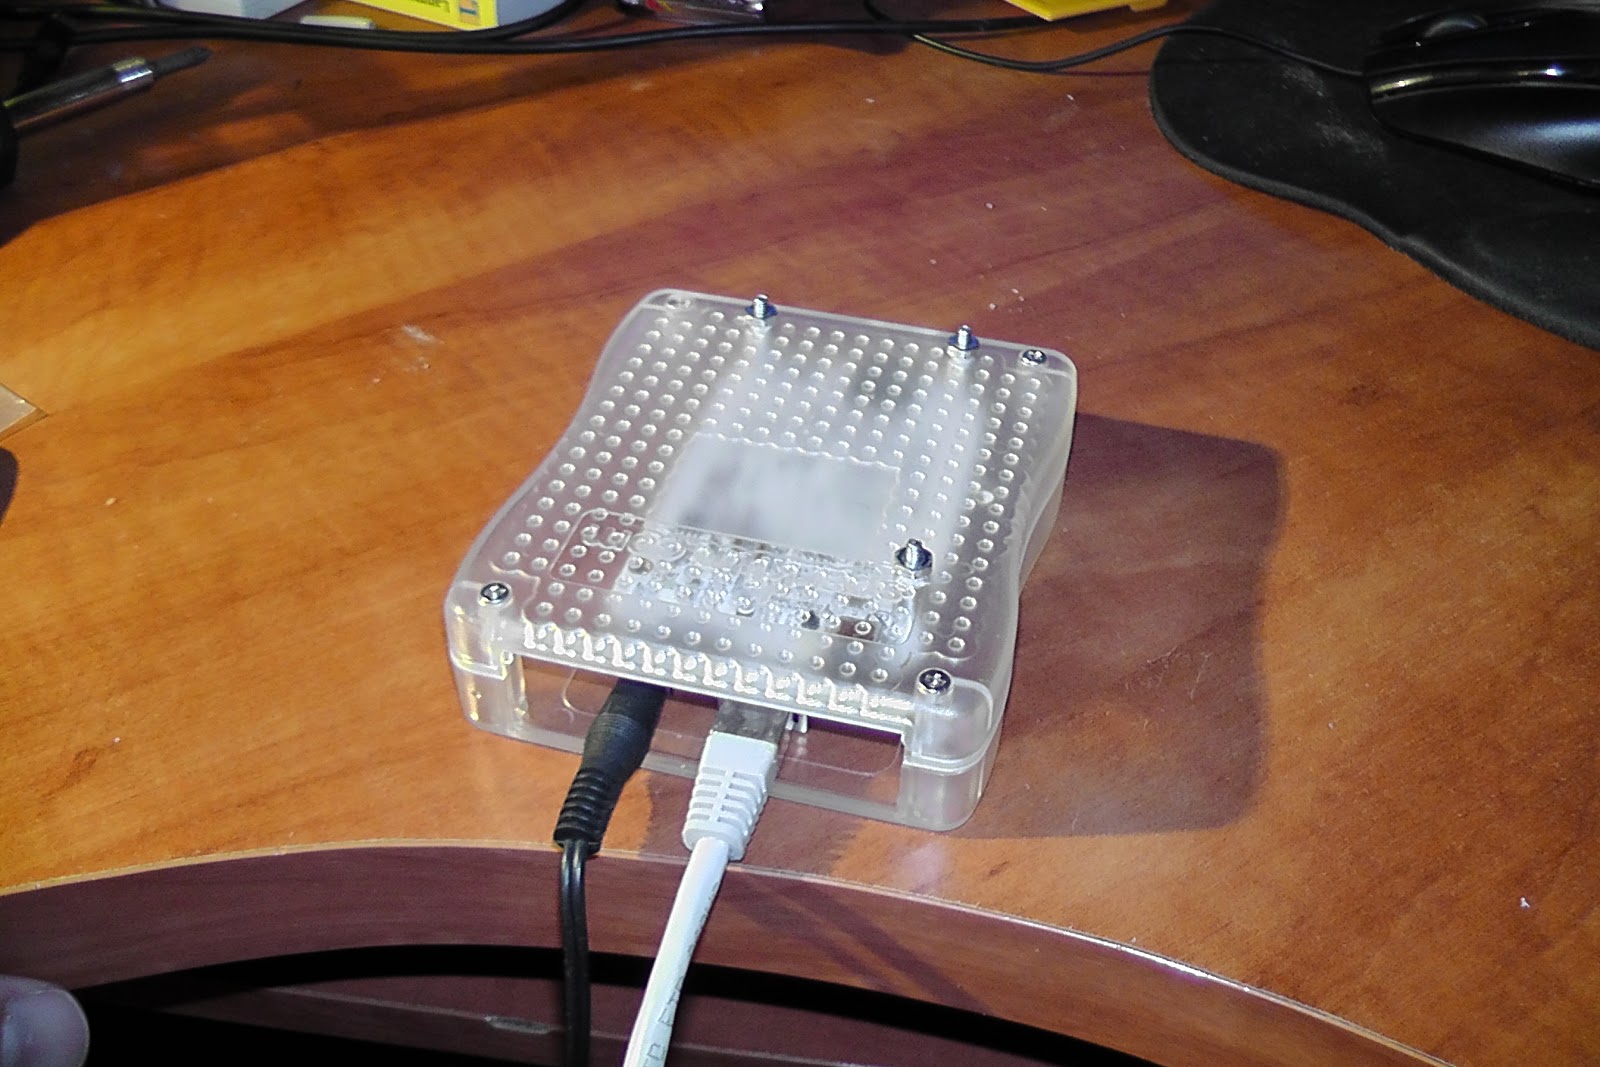
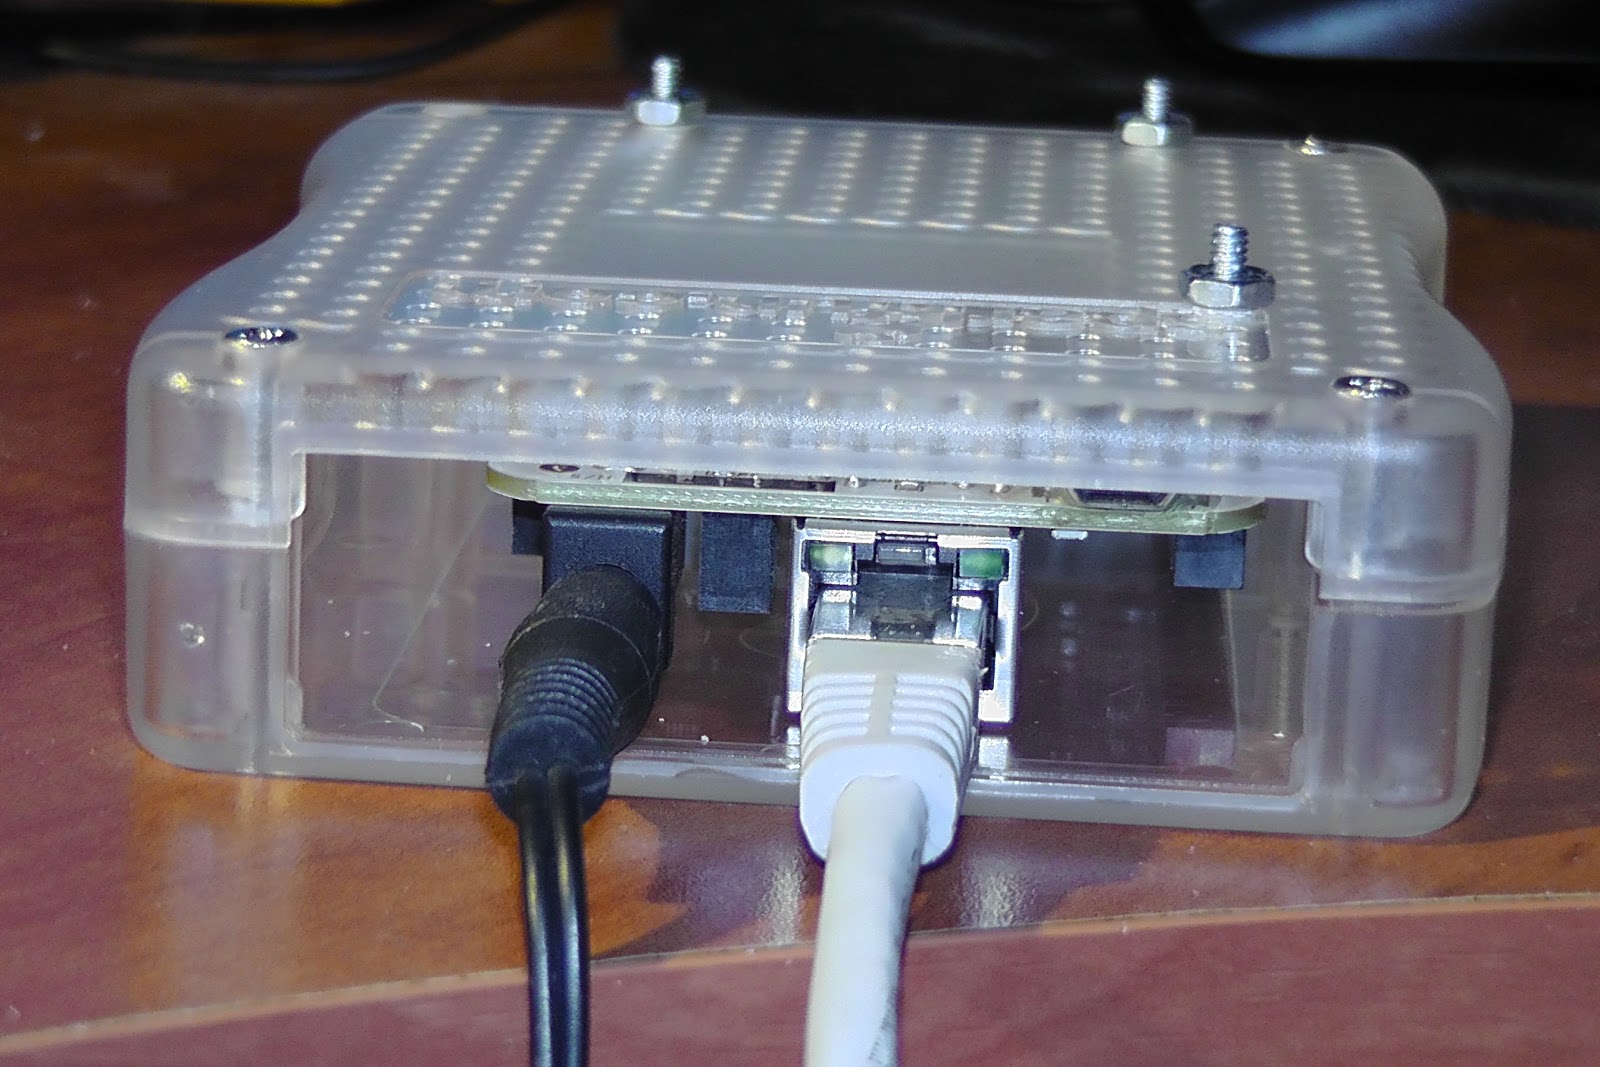
Beaglebone case
The beaglebone case from sparkfun.com.
I can't mount the 4th screw because of SMD resistors that too close to the mount hole.


I can't mount the 4th screw because of SMD resistors that too close to the mount hole.


Monday, October 1, 2012
Connecting external GPS to ODROID-X (Android ICS)
This bluetooth GPS can be connected to USB.

I connected it to ODROID-X. After some patches it works.

File that should be patched: android/device/hardkernel/proprietary/libodroid-gps/Android.mk
Friday, September 28, 2012
ODROID-X playing 1080p video
Beagleboard SGX drivers is still under development - forever and ever.
Pandaboard ES is getting really hot. The result - CPU changing clock constantly from high to low. You should install serious cooling system on it.
This one - ODROID-X - is really impressive with customized distribution of Android. This version of Android includes Dice player, that can use GPU hardware decoding. And there is XBMC patch for using this player. The board has great community support.
Ubuntu distribution is still missing graphic drivers.
Tuesday, September 25, 2012
Oscam card server on beaglebone
I own a Beaglebone (TI AM3358 ARM Cortex-A8). I was thinking about use of it.
It can control 4 PWMs (for servos for example), but I already have a servo robot (mega168 bot).
It is capable of running zoneminder - surveillance software. But all my USB cameras didn't work with it - they very old.
Here are the instructions to build oscam server with it.
1. Install ubuntu 12.04: http://elinux.org/BeagleBoardUbuntu#Demo_Image
2. Update kernel: http://elinux.org/BeagleBoardUbuntu#Advanced
3. Update ubuntu with
8. Install libusb from source:
12. Create oscam script (/etc/init.d/oscam):
14. Add script to startup:
14. Restart the beaglebone and open the page in browser: http://XXX.XXX.X.XX:8888, with beaglebone IP. You should see the oscam running.
15. You can check oscam errors with:
Update 07-Dec-2012: Smargo Card reader from ebay works great with this configuration. In file oscam.server should be written:
protocol=smartreader
device=002:003 (or something else depend on lsusb output)
It can control 4 PWMs (for servos for example), but I already have a servo robot (mega168 bot).
It is capable of running zoneminder - surveillance software. But all my USB cameras didn't work with it - they very old.
Here are the instructions to build oscam server with it.
1. Install ubuntu 12.04: http://elinux.org/BeagleBoardUbuntu#Demo_Image
2. Update kernel: http://elinux.org/BeagleBoardUbuntu#Advanced
3. Update ubuntu with
sudo apt-get update4. Install ftp server
sudo apt-get upgrade
sudo apt-get install vsftpd5. Configure it (/etc/vsftpd.conf)
local_enable=YES6. Restart vsftpd
write_enable=YES
sudo service vsftpd restart7. Install all development stuff: build-essential, automake, subversion, etc
8. Install libusb from source:
wget http://downloads.sourceforge.net/project/libusb/libusb-1.0/libusb-1.0.9/libusb-1.0.9.tar.bz29. Get oscam (http://www.streamboard.tv/oscam/wiki/GettingOscam)
tar -xf libusb-1.0.9.tar.bz2
cd libusb-1.0.9
./configure
make
sudo make install
svn checkout http://www.streamboard.tv/svn/oscam/trunk oscam-svn10. Now you have oscam in "Distribution" folder
cd oscam-svn
sudo make USE_LIBUSB=1 EXTRA_FLAGS="-I/usr/local/include -L/usr/local/lib"
sudo cp ./Distribution/oscam-1.20-unstable_svn7488-arm-linux-gnueabihf-libusb /usr/local/bin/oscam11. Put oscam configs in /usr/local/etc: oscam.conf, oscam.server, oscam.user
12. Create oscam script (/etc/init.d/oscam):
13. Set script permissions
#!/bin/sh
# Start/stop the OScam daemon.
#
### BEGIN INIT INFO
# Provides: OScam
# Required-Start: $syslog $network $pcscd
# Required-Stop: $syslog $network $pcscd
# Default-Start: 2 3 4 5
# Default-Stop: 0 1 6
# Short-Description: Start and Stop OScam
# Description: OScam init script. This script start and stop OScam.
### END INIT INFO
NAME=oscam
DAEMON=/usr/local/bin/$NAME
CONFIG_DIR=/usr/local/etc
PIDFILE=/var/run/oscam.pid
LOG=/var/log/oscam/oscam.log
LOGUSR=/var/log/oscam/oscamuser.log
LOGCW=/var/log/oscam/cw.log
STARTAS="$DAEMON -- -b -c $CONFIG_DIR"
#test -f $DAEMON || exit 0
[ -x $DAEMON ] || exit 0
[ -d $CONFIG_DIR ] || exit 0
# Get lsb functions
. /lib/lsb/init-functions
echo $NAME
clear_file() {
# Clear log and pid file if exists
if [ -e $PIDFILE ]
then
rm -f $PIDFILE
fi
if [ -e $LOG ]
then
rm -f $LOG
fi
if [ -e $LOGUSR ]
then
rm -f $LOGUSR
fi
if [ -e $LOGCW ]
then
rm -f $LOGCW
fi
}
case "$1" in
start)
clear_file
log_daemon_msg "Starting OScam daemon" "OScam"
start-stop-daemon --start --quiet --exe $DAEMON --startas $STARTAS
log_end_msg $?
;;
stop)
log_daemon_msg "Stopping OScam daemon" "OScam"
start-stop-daemon --stop --quiet --exe $DAEMON
log_end_msg $?
;;
restart)
log_daemon_msg "Restarting OScam daemon" "OScam"
start-stop-daemon --stop --retry 5 --quiet --exe $DAEMON
clear_file
start-stop-daemon --start --quiet --exe $DAEMON --startas $STARTAS
log_end_msg $?
;;
status)
status_of_proc -p $PIDFILE $DAEMON $NAME && exit 0 || exit $?
;;
*)
log_action_msg "Usage: /etc/init.d/OScam {start|stop|restart|status}"
exit 2
;;
esac
exit 0
sudo chmod 755 /etc/init.d/oscam
14. Add script to startup:
sudo update-rc.d oscam defaults
14. Restart the beaglebone and open the page in browser: http://XXX.XXX.X.XX:8888, with beaglebone IP. You should see the oscam running.
15. You can check oscam errors with:
sudo service oscam startor
sudo service oscam restart
Update 07-Dec-2012: Smargo Card reader from ebay works great with this configuration. In file oscam.server should be written:
protocol=smartreader
device=002:003 (or something else depend on lsusb output)
Thursday, April 12, 2012
Accelerometer adxl335
The Mega bot upgraded with accelerometer. He can feel the position now. When he is upside down - the servos stops. The alarm will be added later.
The accelerometer from Sparkfun (the low one)

The accelerometer from Sparkfun (the low one)

The very first test (on one axis)
The final test (on all axes)
Friday, April 6, 2012
Current sensor for MegaBot
MegaBot updated with current sensor from Sparkfun
Now it can sense motors overload, when it is stuck.
The sensor


Now it can sense motors overload, when it is stuck.
The sensor

The updated bot

The obstacle handling
Friday, March 9, 2012
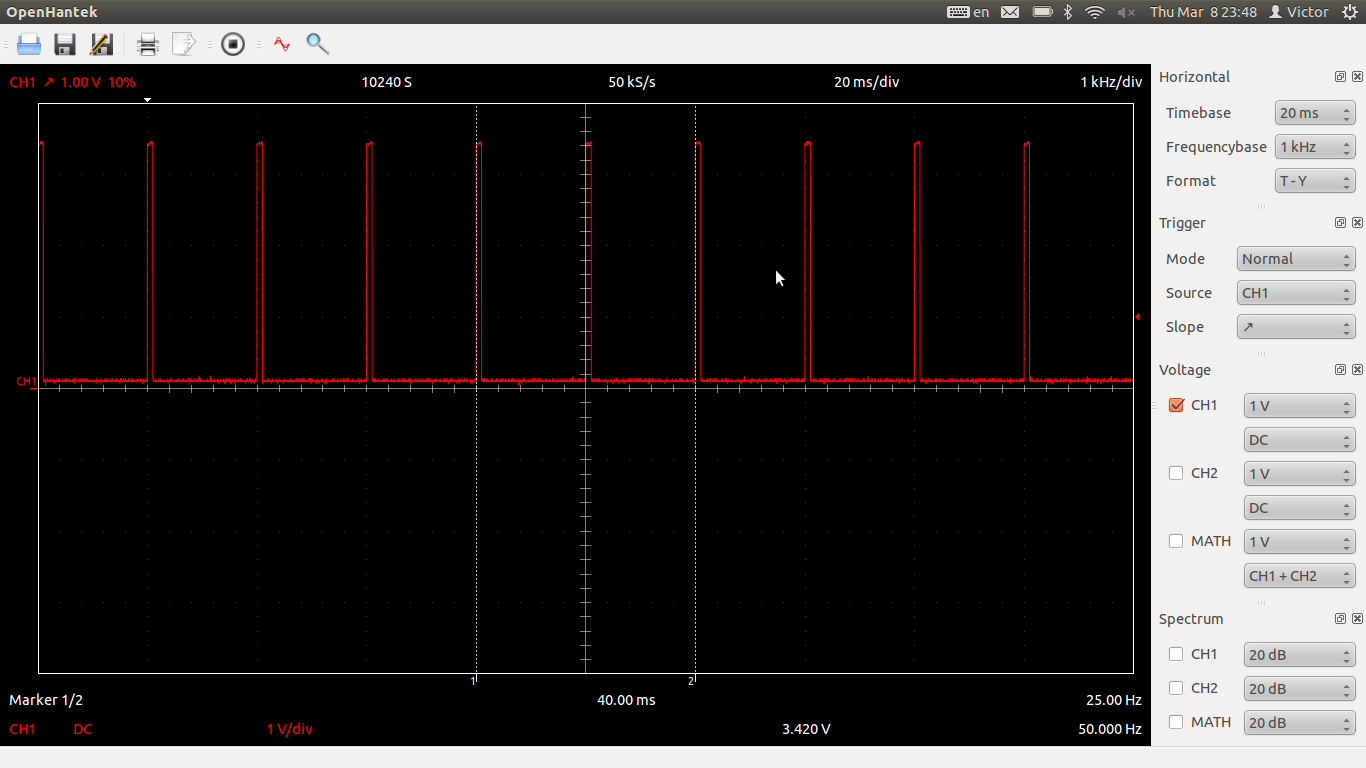
BeagleBone PWM
Today I discovered a few important things.


1. PWM and GPIO in BeagleBone can be activated from shell. And it can be used for servo control.
2. DSO 2090 has linux software on http://www.openhantek.org. Finally, I don't need Windows for my scope.
PWM pulses

Wi-fi adapter that I use

Monday, March 5, 2012
Ubuntu wi-fi auto connect
I had 2 days of headache trying to make Beaglebone to connect to my wi-fi network upon startup. I installed ubuntu on it (oneiric 11.10). Currently it has only command line interface via serial.
Here is the solution how to configure it. My wi-fi network is open an has MAC connection control.
/etc/network/interfaces
/etc/wpa_supplicant.conf
Here is the solution how to configure it. My wi-fi network is open an has MAC connection control.
sudo apt-get install wpasupplicant
/etc/network/interfaces
auto wlan0
iface wlan0 inet dhcp
wpa-driver wext
wpa-conf /etc/wpa_supplicant.conf
/etc/wpa_supplicant.conf
ctrl_interface=/var/run/wpa_supplicant
network={
ssid="MyHomeNetwork"
scan_ssid=1
key_mgmt=NONE
}
Subscribe to:
Posts (Atom)